

Bison Relay pre-paid invitations
One of the key Bison Relay initiatives has been to improve and simplify the onboarding process. With pre-paid invites, this process has gone from needing to input and confirm several pieces of information to just inputting a single key.
On start up, users no longer need to fund their wallets or manually setup outbound and inbound Lightning channels. One key constraint to this method is both the person providing the invite and the new user need to be online at the same time, until the user finishes setting up their Bison Relay installation. Let’s have a look at how this works.
Create a pre-paid invite
The process of creating a pre-paid invite. Initially, we need to put funds into a new account, head over to the “LN Management” tab. Setting up accounts can be done at the bottom of the accounts page. I’ve gone ahead of time and created an account called “Atom” which will be used for my pre-paid invitations.
The on-Chain tab is where you’ll transfer the funds. From the “receive on-chain” area, select an account from the dropdown list, in my case the “Atom” account. Then click the “generate address” button. Clicking on the newly generated address will copy it to the clipboard. In the “send on-chain” area, select an account that has funds. My “default” account has 0.7dcr, so this will be fine. Then paste the address in the “destination address” box. Write the amount to send, this should be approximately 0.1 dcr for each user you want to invite. Then press the “Send on-chain” button, followed by the $ symbol, to confirm and move the funds.
If you head back to the accounts tab, these funds will be unconfirmed. You need to wait for one block confirmation before the funds become available. At the current time, this page doesn’t auto-refresh. By moving to another tab and then back again, this will refresh the accounts page. Once the funds say confirmed, you are ready to set up your pre-paid invite.
Go to the “Chat” tab, at the very bottom there’s an icon that looks like two people, this is the “Generate Invite” button, click it, to open the generate invite page.
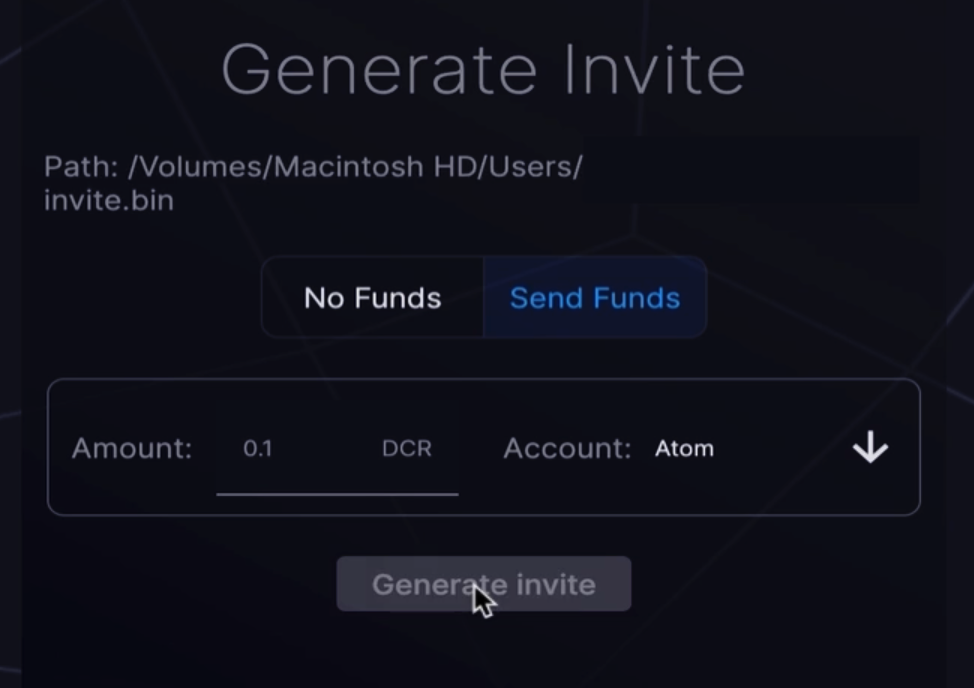
Click the select path. This is where the invite file will be saved, you can delete this file once the new user is all setup. I’ll save this on my desktop.
To make this invite pre-paid, select the “Send Funds” button. Select the account the funds will come from, in my case the “Atom” account. Then enter the amount, once again, 0.1dcr is a good amount that will be sufficient for long-term use. Then click the “Generate invite” button.
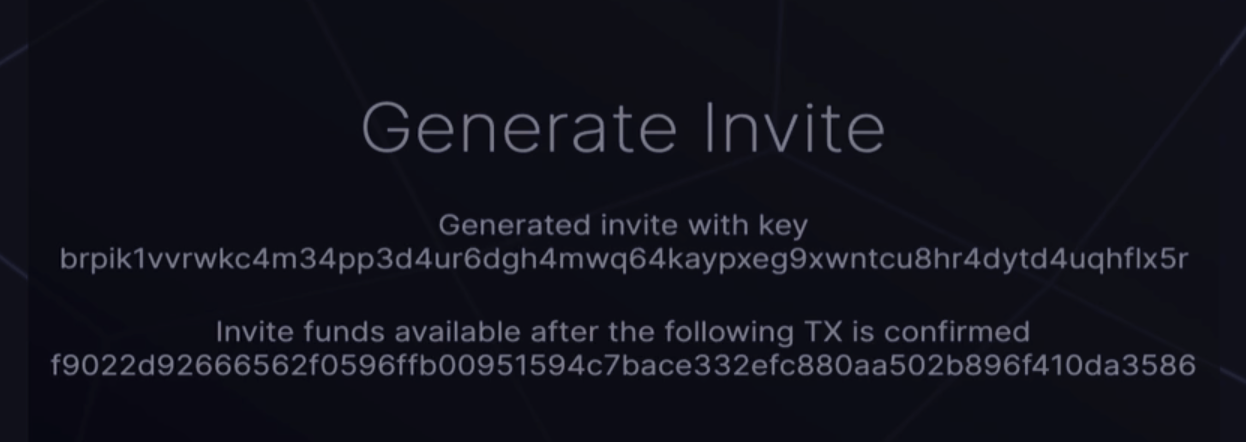
The “generate invite with key” is the string of characters the new user will need to set up their pre-paid Bison Relay account. If you click on this link it will be copied to the clipboard, from here you can paste and send it, to the preferred messaging platform. Before sending this code, wait for one block confirmation. If you click on the transaction link, DCRDATA will tell you when this confirmation has been received. Clicking done, will send you back to the chat window.
Setting up Bison Relay with Pre-paid invite
Let’s go to my other computer and set up a fresh instal of Bison Relay using the code that’s just been generated and messaged to me.
First download and install the latest version from bisonrelay.org. The version I’ll be installing is for macOS, I’ll have to get this from GitHub as the link doesn’t currently work.
Next, open Bison Relay and follow the installation instructions:
- Give your account a password, confirm and press the create wallet button
- Copy down your seed phrase and store in a safe place. Re-enter several words from this phrase to confirm that you have written it down.
- Connect to a Bison Relay server, currently there is only one listed, press the connect button
- Syncing the network will take about 20 minutes, don’t be alarmed if it sticks at 100% as it confirms the blockchain
- Give your account a username and Nick name, I tend to make these the same, then press confirm
- Accept Server Fingerprint
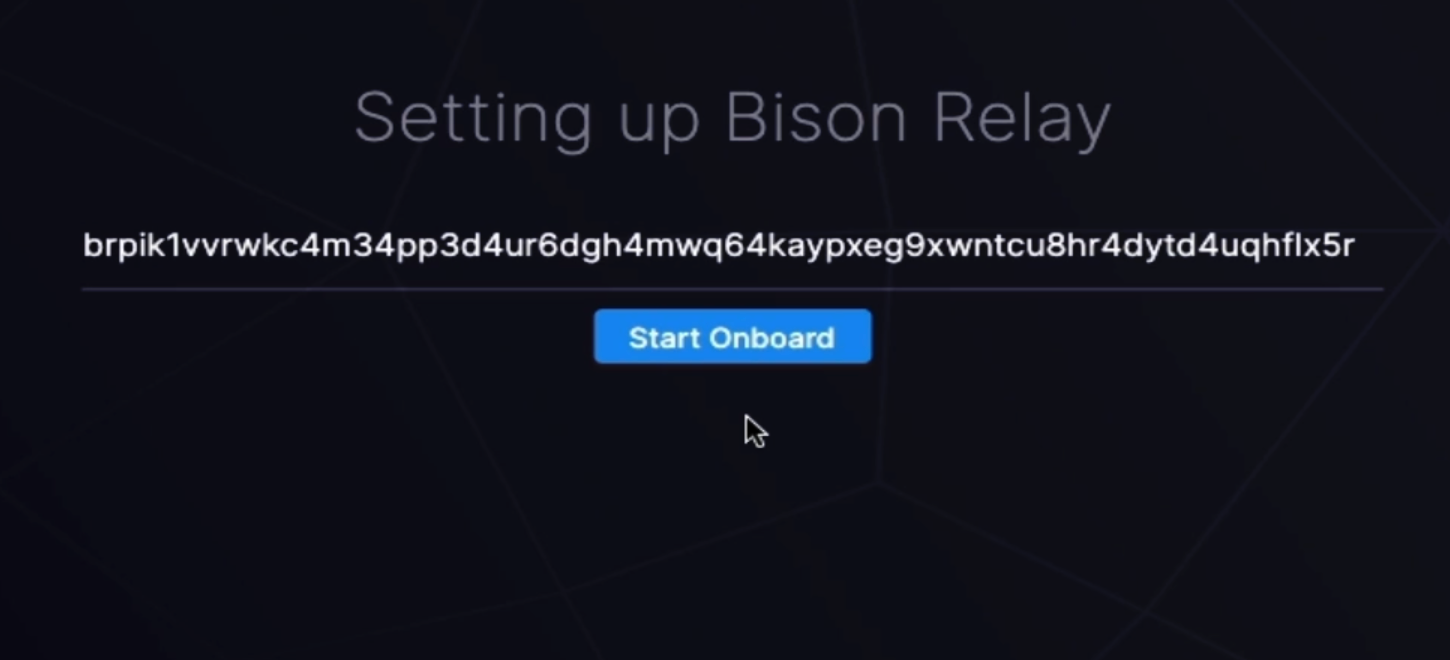
- Paste the invitation code into the box provided and press the “start onboarding” button. If you don’t have an invite code, you can press the “skip onboarding” button at the bottom.
- This will now go through several automated steps to complete the Bison Relay setup. Including – receiving funds from the invite key, opening outbound and inbound lightning channels, and key exchanging with the person who invited you.
- Remember, both parties need to be online at this point, otherwise, the invite will not be processed. This part can take a little while, in this instance it took about 15 minutes.
- Once this automated process is complete, press the “onboarding done” button to start using Bison Relay

Getting more user engagement
To increase the engagement for a new user, there are a few things both parties can do directly after setup.
- Firstly, once complete, message the person who invited you to let them know you are active.
- Then subscribe and list their posts. From here, download one of their posts and comment on it. This will add the “Oprah” bot to your chat list and get you started with receiving tips for your engagement.
- Additionally, check the “LN Management” tab, overview section, to make sure you have enough in your “Max receivable” balance, to enable being tipped.
If the person who invited you is an admin for a group, get them to invite you to it. Here’s an example of a user getting invited to the Decred Magazine group.
The new user can now except the group invite and in a few seconds, participants from that group will start to appear in their chat.
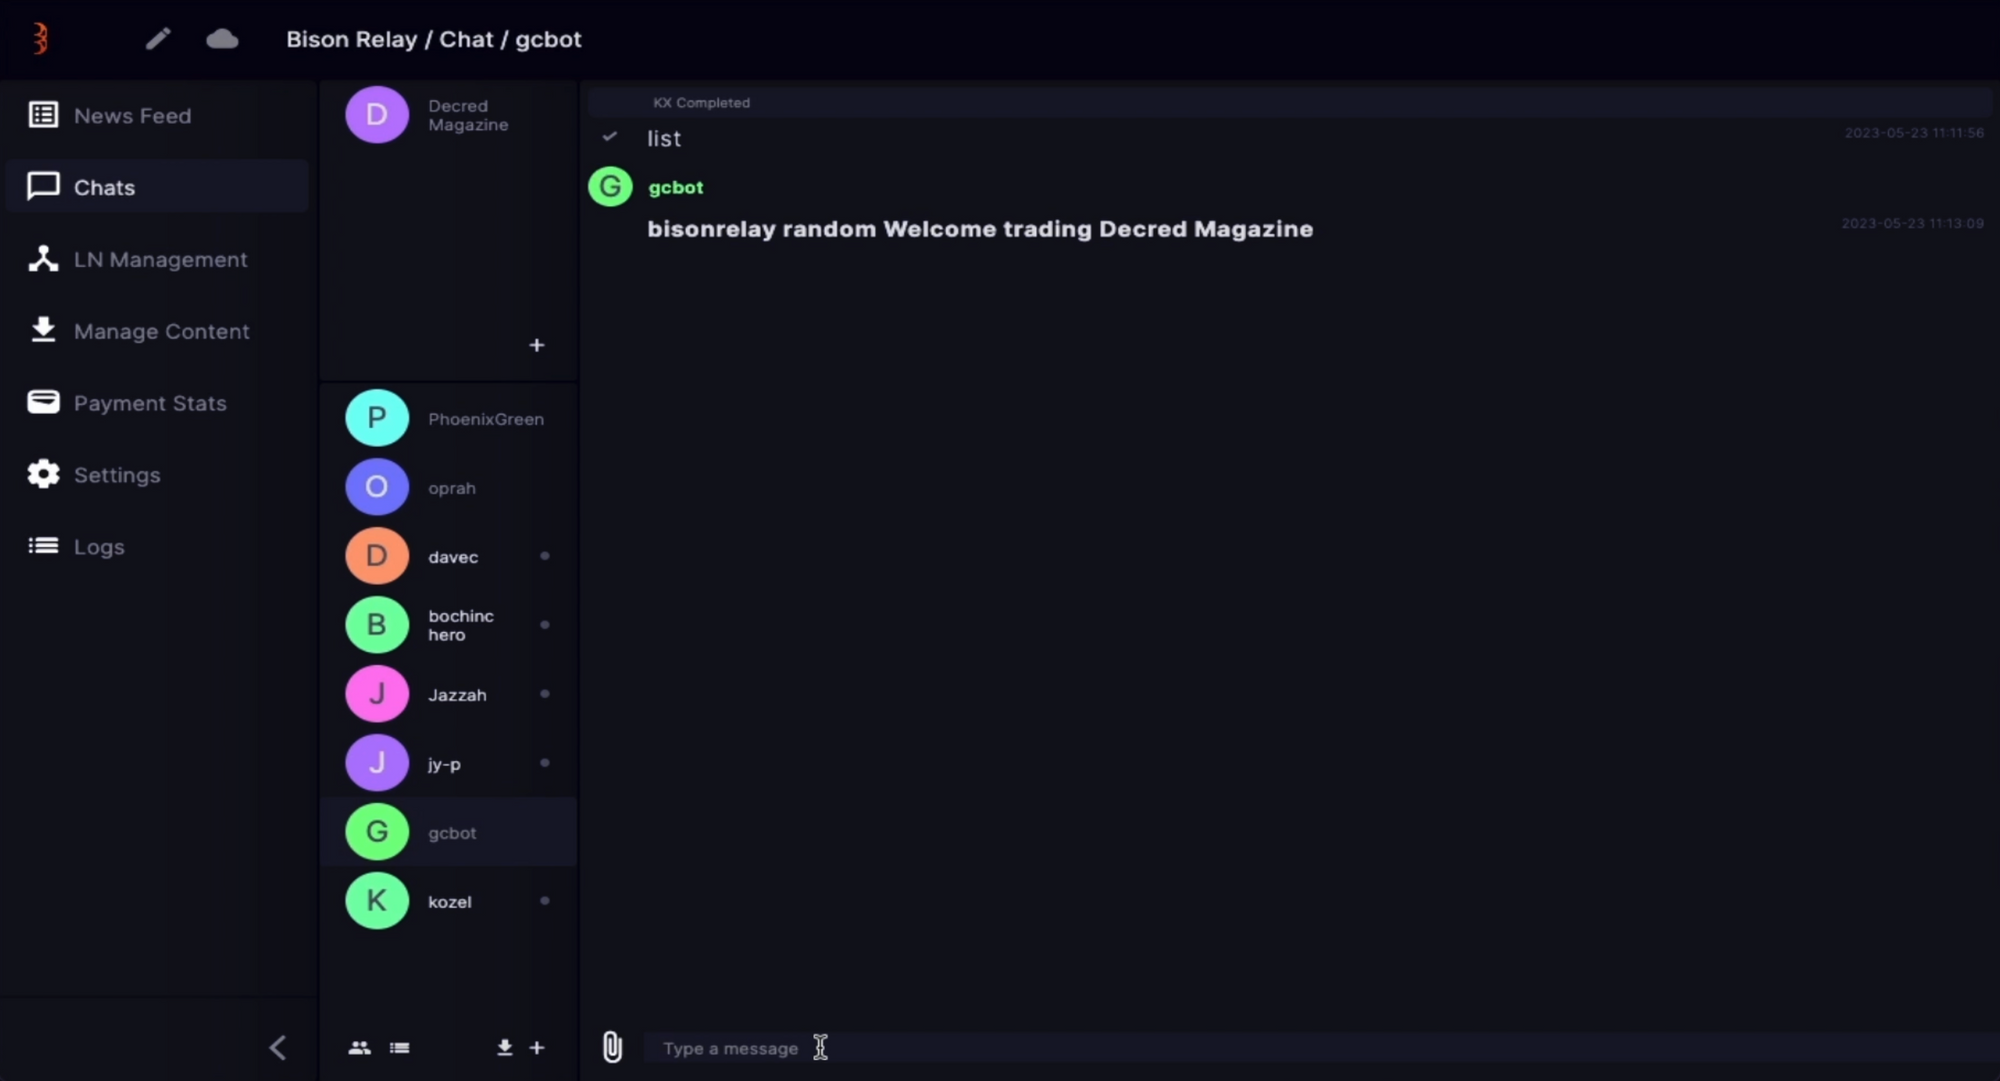
Hopefully, in the chat list, “GC Bot” will appear, this user allows you to join more groups without needing to wait for an invite. By typing “list” in the chat box and pressing enter, you’ll get a list of all the available public groups. To join one of these groups, type “invite” followed by the group name and press enter. Scroll down and press “Accept” and you’re in. You can repeat this process for each group in the list.
Within a few short minutes, you’re now all signed up to Bison Relay and communicating with other members on the platform.

Comments ()